A lot of schools are on Spring Break right now, but even if school is in session for you, I thought a cool SciArt experiment would be a good way to start the week. While the name sounds super technical, chromatography is actually quite simple and can be adjusted for any age level. This is a great way to teach kids about photosynthesis (link has great info if you need to brush up on your plant science). Chlorophyll is the pigment that makes leaves green, but it’s also the chemical that’s responsible for helping leaves take the sun’s energy and turn it into food!
Supplies
- Different leaves
- Glass jars or glasses
- Rubbing alcohol (may be in short supply right now)
- Coffee filter
- Tape
- Rolling pin or another glass jar
- plastic bags (optional)
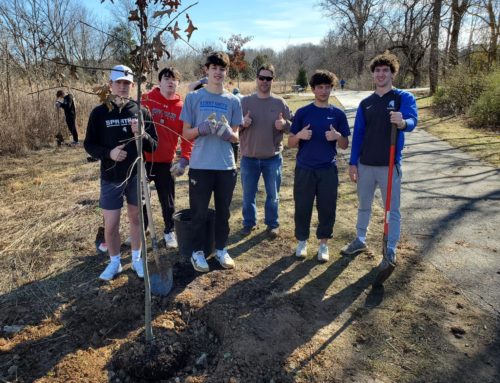
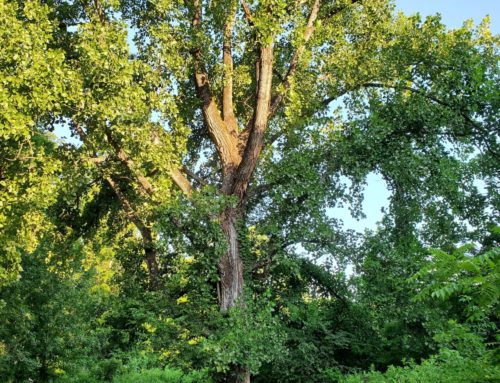
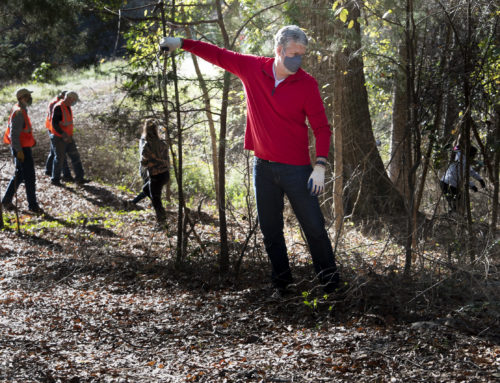
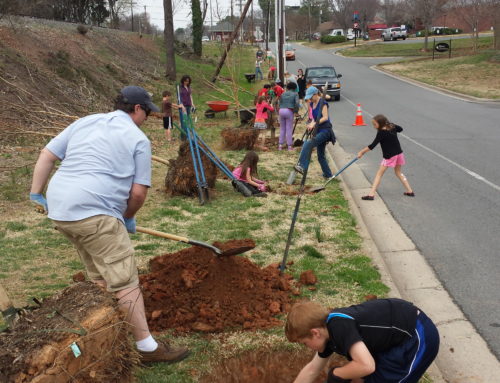
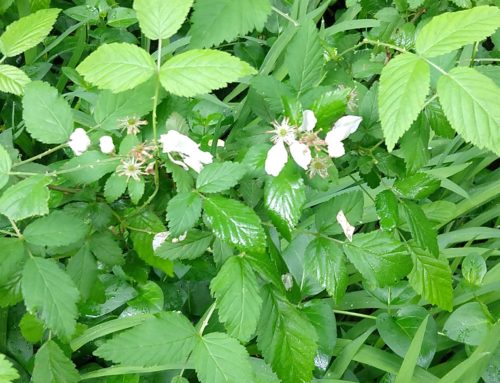
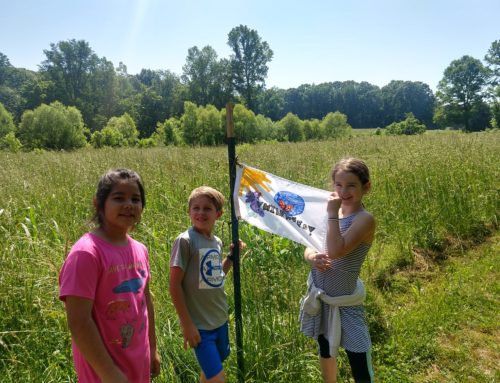
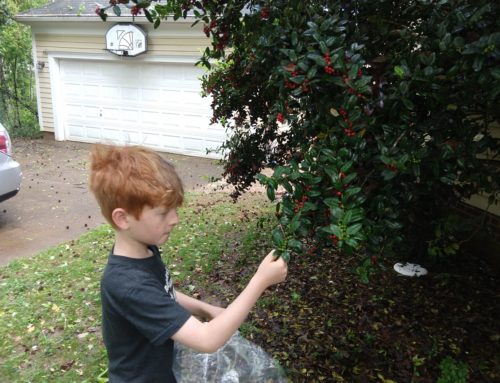
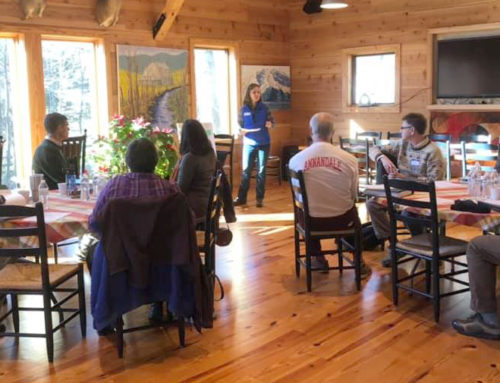
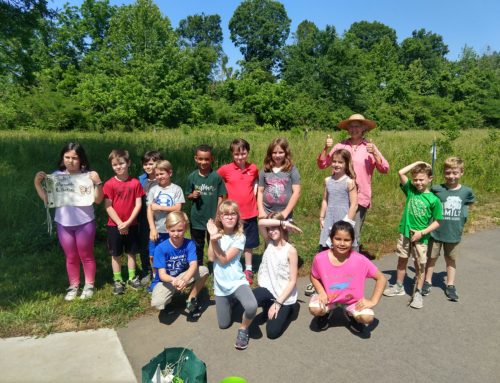
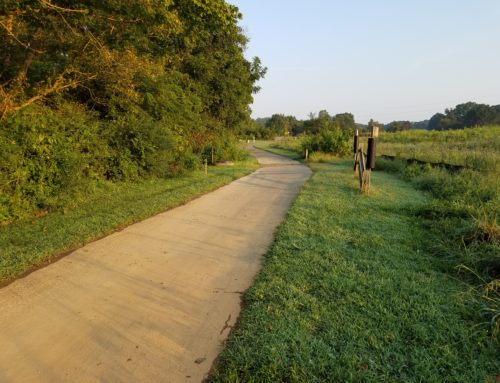
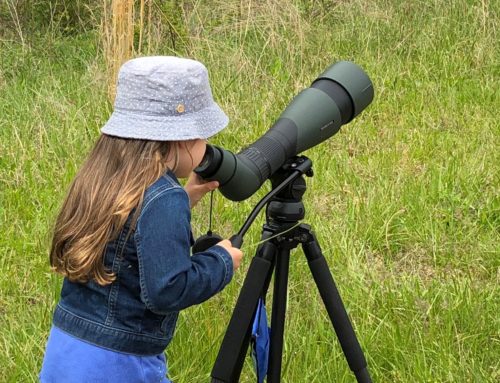
You can start out with a nature walk, noticing all the different deciduous and evergreen trees around you. Or, if time is an issue, just grab some leaves from outside. You just want to compare different species. We used three leaves.
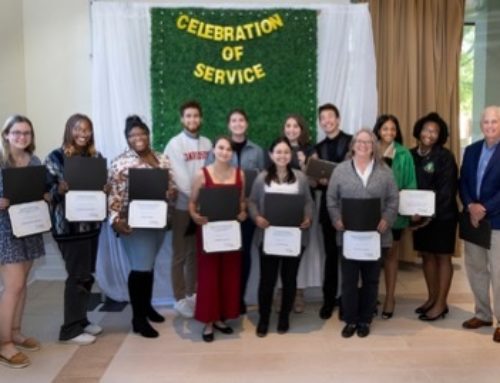
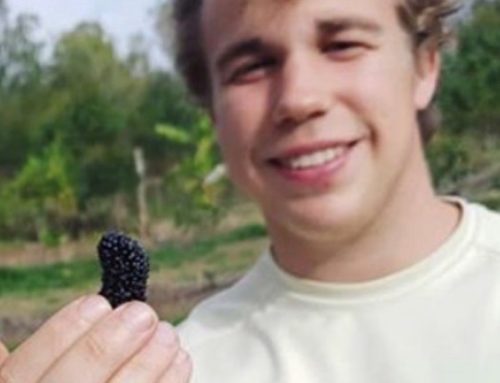
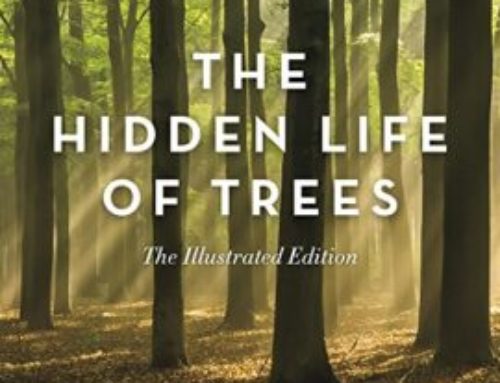
Grabbing our evergreen leaf (a holly)

We chose an oak, poplar, and holly
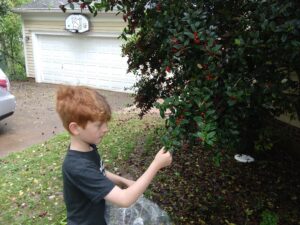
The next step is to crush your leaves with a rolling pin or anything else that would do the job. This is to break down the outside of the leaf so that the pigment from inside can be extracted.
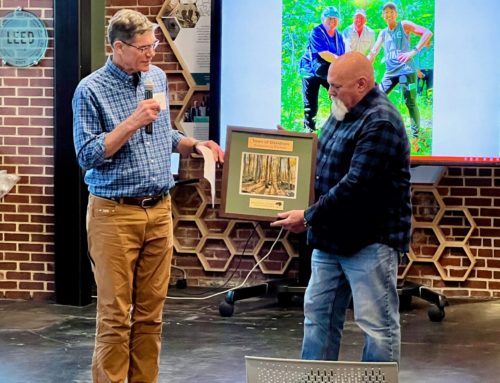
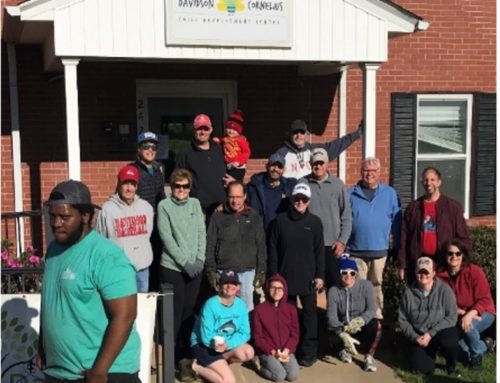
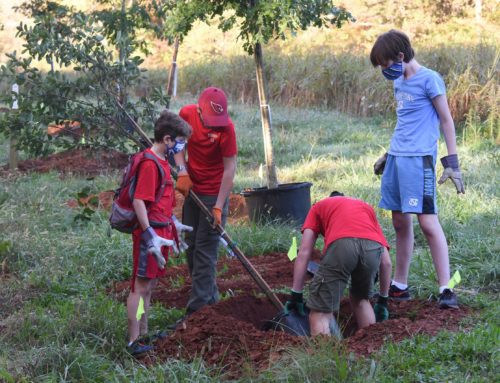
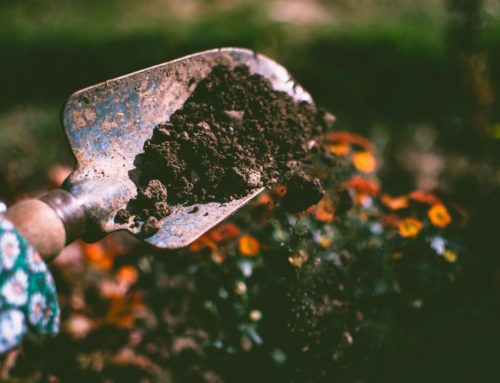
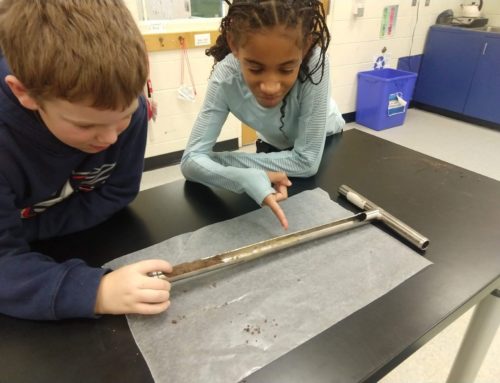
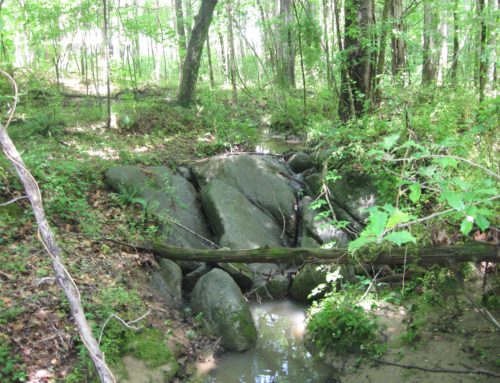
The next step is to set up your experiment. You need to cut your coffee filter into long enough strips that the top can be taped to the jar and the bottom just touches the bottom of the jar. You then add just enough rubbing alcohol to cover the bottom of each jar. If you don’t have safety glasses or sunglasses your child can wear, you may want to do this step yourself.
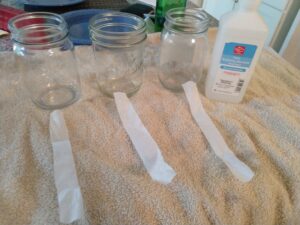
Experiment set up
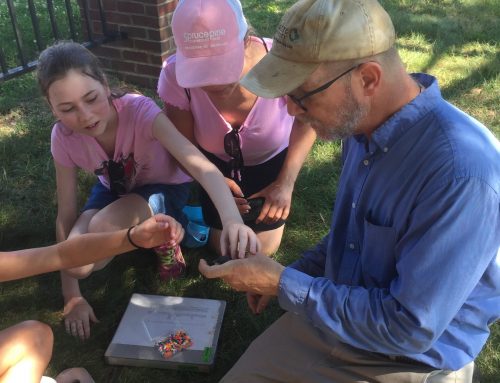
The next step is to get the pigment onto the bottom of the filter paper (about a half inch from bottom of paper). I like to use a coin to do this. Take the coin and vigorously rub it over a section of the leaf until you get a strip of green on the filter paper. (NOTE: Our oak leaf was a total fail! We couldn’t get any pigment to transfer, so we switched to a parsley leaf. I like to encourage young scientists to understand that experiment failure is a good thing. We learn from it and adapt and try again until we figure out what works!) I didn’t get a great picture of this step – sorry.
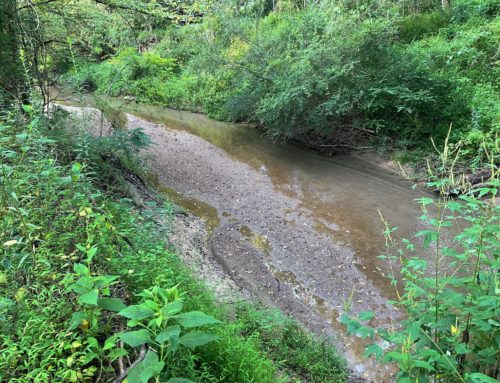
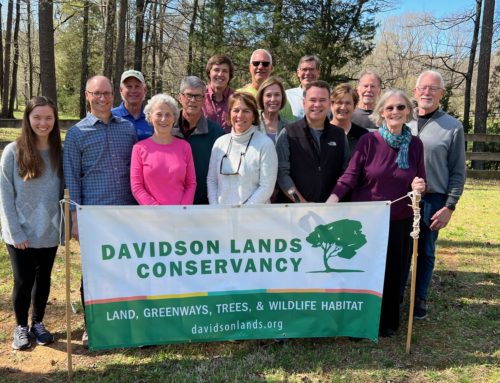
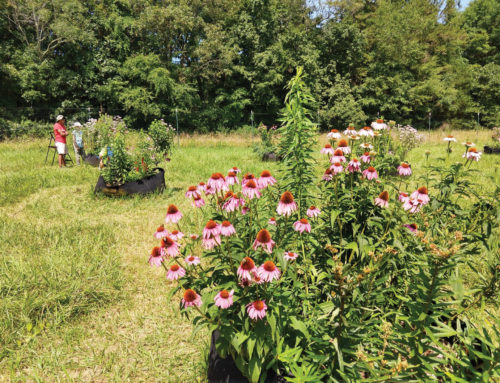
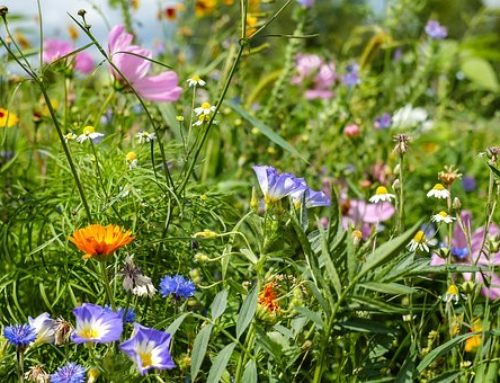
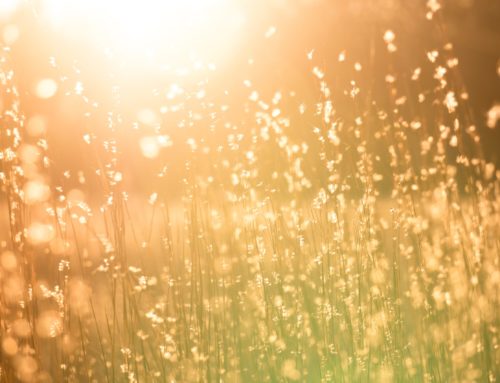
We then placed our strips carefully into the jars with the bottom of the strips touching the alcohol and taping the tops to the jar.
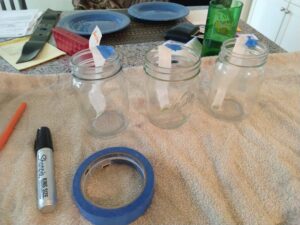
Experiment is up and running!
Now, you just walk away for an hour or 90 minutes. Ask kids what they think will happen as the rubbing alcohol moves up the filter paper!
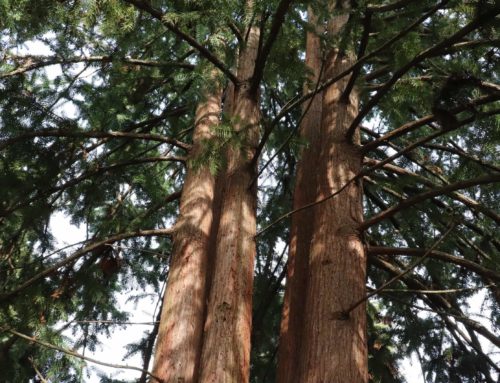
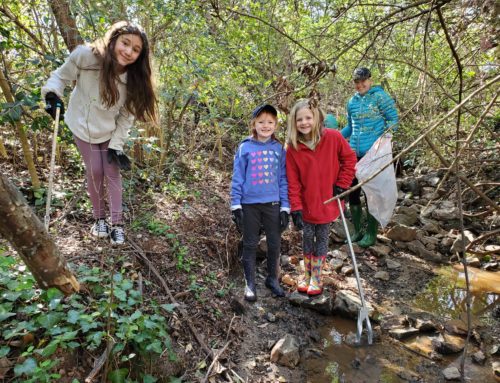
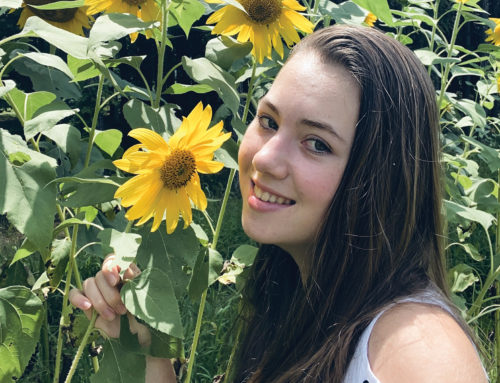
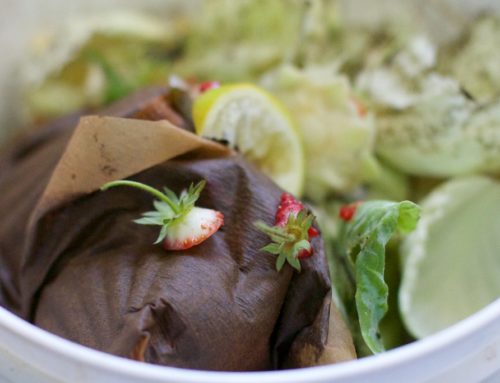
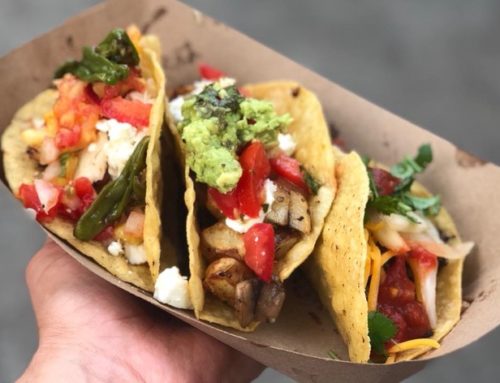
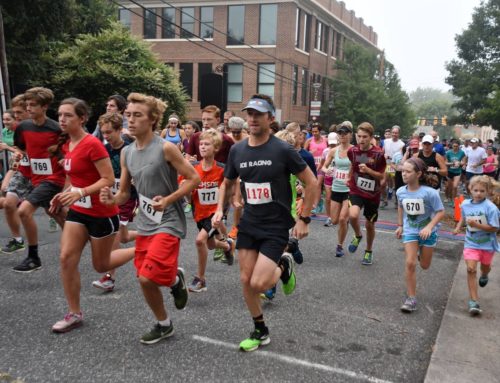
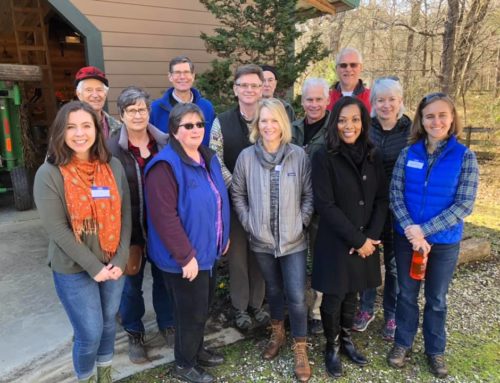
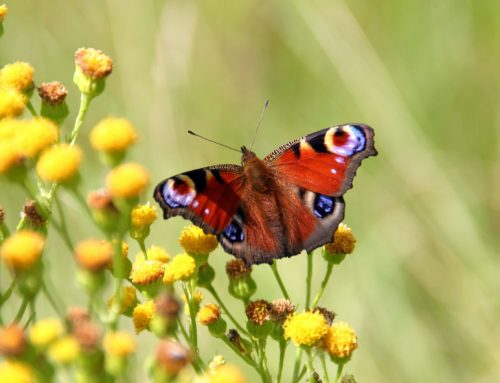
Time to check your results! Remove the filter paper strip from the alcohol and let them dry out a bit. Tape them onto white paper. (NOTE: Our results were a bit underwhelming. I think we should have worked a bit harder to initially transfer more pigment onto each strip.) BUT…we still learned something cool! Each strip had distinct areas of brown, green, and yellow. So, now we know that chlorophyll isn’t the only pigment in leaves. The green just dominates during the spring and summer, but the brown and yellow are there all along. Also, note the pattern of how the pigments traveled up the strip. The brown stayed in the original spot where we placed the leaf pigment. It’s the heaviest pigment. The green migrated up some and the yellow even farther. Meaning the yellow pigment is the lightest and travels upwards with the alcohol most easily.
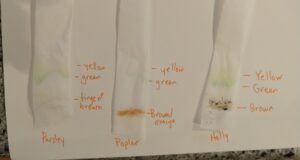
While our colors were faint, the results were still detectable!
Once you done this, you can try another, even simpler color science experiment. Have kids color a ring around the edge of a coffee filter. They could do a single color or make a circle of rainbow colors. I encourage trying black…cool results. Fold the coffee filter into the shape of an ice cream cone and dip the pointed end into some water. spread it out flat and watch the magic unfold!